


 中文简体
中文简体 English
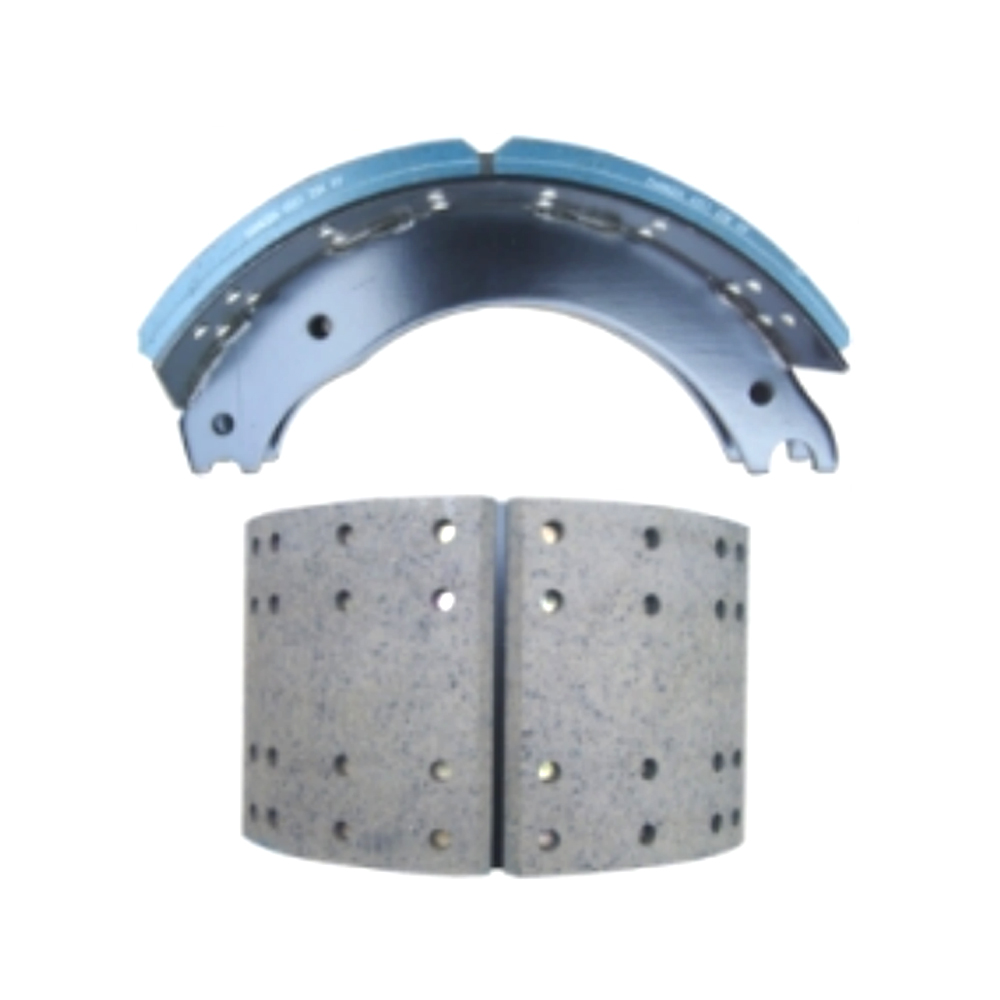
How can you tell when a brake shoe assembly needs to be replaced?
Knowing when a brake shoe assembly needs to be replaced is essential for maintaining vehicle safety and performance. Here are the key signs and indicators that suggest a brake shoe assembly requires replacement:
1. Noise
Squealing or Screeching: High-pitched noise when applying brakes can indicate that the brake linings are worn down and the metal backing is contacting the drum.
Grinding: A grinding noise suggests that the friction material is completely worn away, and metal-on-metal contact is occurring, which can damage the drum.
2. Reduced Braking Performance
Increased Stopping Distance: If the vehicle takes longer to stop than usual, it may indicate that the brake shoes are worn and not providing adequate friction.
Soft Brake Pedal: A spongy or soft brake pedal can be a sign of worn brake shoes or air in the brake lines.
3. Visual Inspection
Thickness of Friction Material: Inspect the brake shoes through the inspection hole in the brake drum or by removing the drum. If the friction material is less than 1/8 inch thick, replacement is needed.
Uneven Wear: Check for uneven wear patterns, which can indicate misalignment or a stuck wheel cylinder.
4. Vibrations or Pulsations
Brake Pedal Pulsation: If the brake pedal vibrates or pulses when applying brakes, it can indicate warped drums or uneven wear on the brake shoes.
Vehicle Vibration: Vibration felt through the vehicle during braking may also point to issues with the brake shoes or drums.
5. Brake Warning Light
Dashboard Indicator: Some vehicles have a brake warning light that illuminates when there is a problem with the braking system, including worn brake shoes.
6. Burning Smell
Overheating: A burning smell from the wheels after braking can indicate that the brake shoes are overheating, possibly due to excessive wear or sticking.
7. Handbrake Inefficiency
Parking Brake Issues: If the handbrake (parking brake) does not hold the vehicle securely, it may indicate worn brake shoes.
8. Leakage
Fluid Leaks: Inspect the wheel cylinders and surrounding area for brake fluid leaks, which can compromise the effectiveness of the brake shoes.
Steps for Inspection and Replacement:
Safety Precautions:
Ensure the vehicle is parked on a level surface.
Use wheel chocks to prevent the vehicle from moving.
Wear appropriate safety gear, including gloves and safety glasses.
Lift the Vehicle:
Use a jack to lift the vehicle and secure it with jack stands.
Remove the Wheel:
Remove the wheel to access the brake drum.
Inspect the Brake Drum:
Remove the brake drum to inspect the brake shoes, friction material, and other components.
Check for Wear:
Measure the thickness of the friction material on the brake shoes.
Look for any signs of cracking, glazing, or contamination.
Inspect Additional Components:
Check the condition of the return springs, adjuster mechanism, and wheel cylinders.
Replace any damaged or worn components.
Replace Brake Shoes:
If the friction material is worn below the recommended thickness or other issues are identified, replace the brake shoes with new ones.
Follow the manufacturer’s instructions for proper installation.
Reassemble and Test:
Reassemble the brake drum and wheel.
Lower the vehicle and test the brakes to ensure they are functioning correctly.
Regular inspection and timely replacement of brake shoe assemblies are crucial for vehicle safety and performance. By paying attention to noise, braking performance, visual wear, vibrations, warning lights, burning smells, handbrake efficiency, and potential fluid leaks, you can determine when it’s time to replace the brake shoe assembly. Proper maintenance and replacement ensure reliable braking and contribute to overall vehicle safety.


